Outdoor Living
How to Install Durable Asphalt Driveway in Six Easy Steps
A step-by-step guide to creating long-lasting asphalt driveways

An asphalt driveway is a short private road that is paved with an aggregate of crushed stone, gravel and sand, bound together with asphalt – a sticky substance obtained from crude oil.
It gives access from a public road to a building or a group of structures on adjoining grounds. Like other private roads, asphalt driveway is owned and maintained by an individual or a group of people.
The lower cost of asphalt driveway installation when compared with that of concrete paved driveway makes it a popular choice among private developers.
However, while concrete can last for decades without crumbling, asphalt paving must be resealed after some years, which makes it more expensive in the long run.
But with proper installation, an asphalt driveway can last 30 years or so.
Paving Asphalt Driveway
There are three main options for asphalt paving installation:
a.) Repair Existing Driveway
This can be an option if the existing driveway is not severely damaged. The process is as simple as pouring a hot mix of asphalt on top of the driveway.
b.) Remove the Old Driveway and Pave the Soil
This is an enhanced form of asphalt driveway repair. In this method, the existing driveway is removed and then 4 to 6 inches of hot mix asphalt is laid on top of the soil.
c.) Remove the Old Driveway and Prepare the Subgrade
This is the best way to install an asphalt driveway. It is completed as follows:
Step 1: Existing Surface Demolition
This process involves the removal of existing surface – concrete, asphalt or pavers for sites with an existing driveway, or vegetation and the topsoil in case you want to install the driveway on virgin land.
It is advisable to recycle old asphalt and concrete as this helps to lower greenhouse gas emissions by reducing energy consumption.
Step 2: Grading the Surface
As the name suggests, grading is the act of flattening a surface to achieve a desired gradient.
Grading is done to allow water to run off to the sides or bottom. Proper water drainage helps to keep the asphalt driveway free of cracks, potholes and other related damages.
The ideal slope is a quarter of an inch per foot (0.635 cm per 30.48 cm).
In countries where temperatures can get extremely low, a frost protection layer can be added at this point to prevent damage to the asphalt driveway from frost heaves formed when groundwater freezes.
Step 3: Subbase Course Preparation
A subbase course is a layer of granular aggregates laid underneath the base course. It functions like the base course – bearing loads from the top – and can be up to 100 mm thick if the subgrade is weak.
Installation of the subbase course can be done away with if the subgrade soil is strong and stiff enough to provide structural support for the driveway surface.
Step 4: Base Course Preparation
The base course is the layer of aggregate material laid on top of the subgrade, which typically is native soil or improved soil that has been compacted. It is often the load-bearing layer of the driveway.
The sub-base should be properly compacted, preferably with a 1,361-kg twin drum roller to reduce its volume of water and air – thus creating a harder, denser surface with high load-bearing capacity.
RELATED: How Roads are Made: A Step-by-Step Guide
The base soil is then covered with crushed rock, whose composition should be rough and jagged. This type of crushed rock is usually called the ‘3/4″ minus’ or ‘road-base’ mix.
Step 5: Binder Course
A binder course is a 50-100 mm layer of coarse aggregate mixed with bitumen laid between the foundation and the wearing course (surface) of the asphalt driveway.
It helps to transfer loads coming from the surface of the pavement to the base course.
When this layer is added, it is important to allow it to settle for about a week to make it strong and durable. This step should be completed with care as it determines the strength of the asphalt surface.
Step 6: Installing the Surface Course
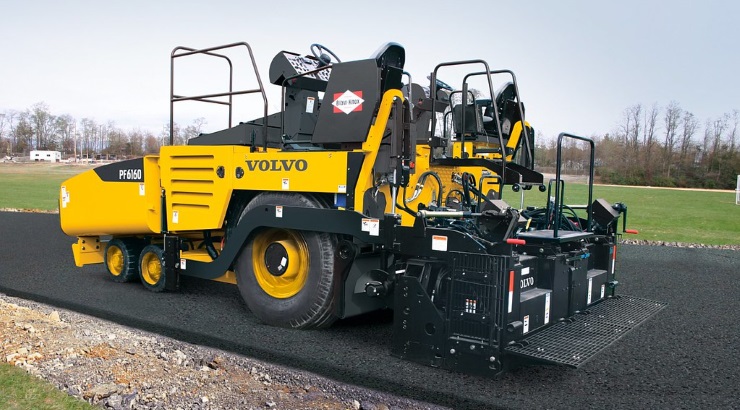
Once the road base is firmly in place, hot asphalt is poured onto the binder course after which it is pressed into it with a steamroller to ensure no bumps of aggregate remain poking through the surface.
When it finally cools down, the asphalt becomes strong enough to support automobile traffic. However, it should be allowed to cure for 90 days before opening the driveway to traffic.
RELATED: The Ultimate Guide to Asphalt Paving
The surface course has direct contact with vehicular loads, and its main function is to provide skid-resistance surface, friction and drainage for the pavement.
It should be 25 mm to 50 mm thick and must be watertight against surface water infiltration.
Asphalt Driveway Cost
The cost of asphalt driveway installation varies from one region to the other mainly due to the size of the driveway, labour costs, asphalt type, as well as the amount of excavation and grading required.
However, the typical range of asphalt driveway cost is $2,932 to $6,568, which translates to $7 to $13 per square foot – including $2 to $6 per square foot for materials and $5 to $7 per square foot for labour.
In the US, the national average cost of asphalt driveway installation is $4,737.


