Features
The ABCs of Drainage Construction
Everything you need to know about construction of drains.

Drainage construction is the process in which systems that remove excess water from buildings, roadways, landscaping, and similar structures are planned, designed, and set up.
It commonly includes the setting up of special channels and pipes that redirect the water from an area to avert problems such as flooding, erosion, and probable damages.
Drainage systems can range from a single pipe to remove rainwater from a building to a complex network of pipes and channels for redirecting water from highways.
Types of drainage systems
There are three types of drainage systems: surface drainage, subsurface, and storm.
Surface drainage is the process of removing excess water from the ground surface, whereas subsurface drainage deals with the removal of water from the soil.
Storm drainage, on the other hand, can be defined as an engineered infrastructure conveying excess water resulting from rainfall.
The three types of drainage can further be divided into other categories.
There exist four major kinds of drains:
1. Grated trench drains: Easily the most popular drain system, the drains use a system of trenches and grates that collect water and redirect it to some underground pipe.
Afterward, the pipe redirects water to a water outlet.
2. French drains: These types of drains are installed in residential projects, and work on shifting water away from the house and lawns.
The drains utilize a series of pipes in the process of steering the water run-offs away from the building and guiding them into sewage systems.
3. HDPE drains: Prefabricated High-Density Polyethylene (HDPE) drains represent a high-performance prefabricated drainage system, working more or less like grated trench drains.
Unlike trench drains, you don’t need to build HDPE drains; instead, you just have to lay them on the ground and design around them.
4. Slot drains: These systems function very similarly to grated trench drains, but they don’t require the grate. Owing to their slim designs, the slot drains are usually directly installed into the floor or ground without the necessity of covering.
Slot drains are made from stainless steel to avoid corrosion and are common in areas for food preparation and buildings that require high-quality sanitation.
RELATED: How to Build a House That Can Withstand Any Storm
Drainage construction
Construction of drains requires good planning and implementation.
The work begins by making a prudent choice of materials after taking into consideration the internal equipment as well as the ecological setting of the structure.
Here are the steps to follow during the construction of the drain.
1. Study the site
First, survey the site to determine what kind of drainage system would be most appropriate. Note the amount of rainfall, type of soil, and slope of the land.
With this information at hand, you will know the kind of material to be used in the drainage structure.
2. Choose a layout plan
After deciding on the type of drainage system, it is time to decide on which layout plan to use for the drain. This step involves choosing the sites for the channels and pipes of the drainage and routes out the path that water will take to reach the drainage system.
3. Excavate the site
It involves excavating the site for drainage to the required width and depth. Level and slope the channel in the direction of the drainage system.
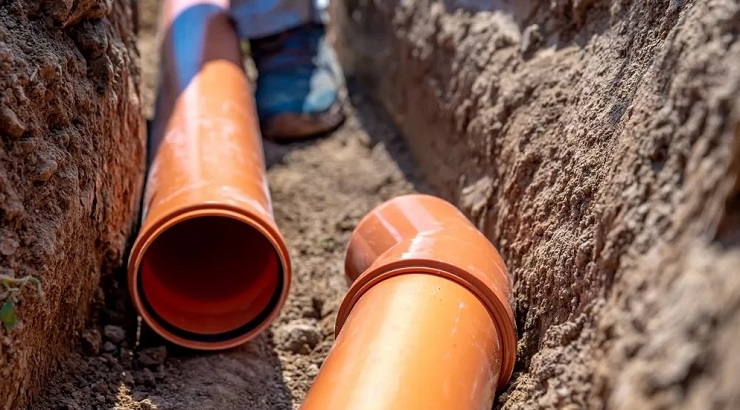
4. Install the pipes
After the excavation has been done, the laying of pipes can be started. The pipes have to be laid to the required depth. All the joints should be sealed with a suitable sealant to prevent any leakage of water from the joints.
5. Install drainage channels
Drainage channels may be made of stone, concrete or other construction materials. The same methods would be used during their laying as those used regarding a suitable slope and level to ensure that the water is discharged properly from the channel.
6. Install outlets
Outlets collect the water from the channel, discharging it into the pipes.
They should be put in the right position and at the correct height for water to flow well. This makes it easy to drain even when it rains heavily.
7. Cover the drainage system
The last step involved in building a drainage is to pave the whole system. This ensures that no dirt will enter and block the system.
Gravel can sit above the kind of draining channel for perfect water run-off while taking care of the system at the same time.


